


Ancestor Card Tutorial
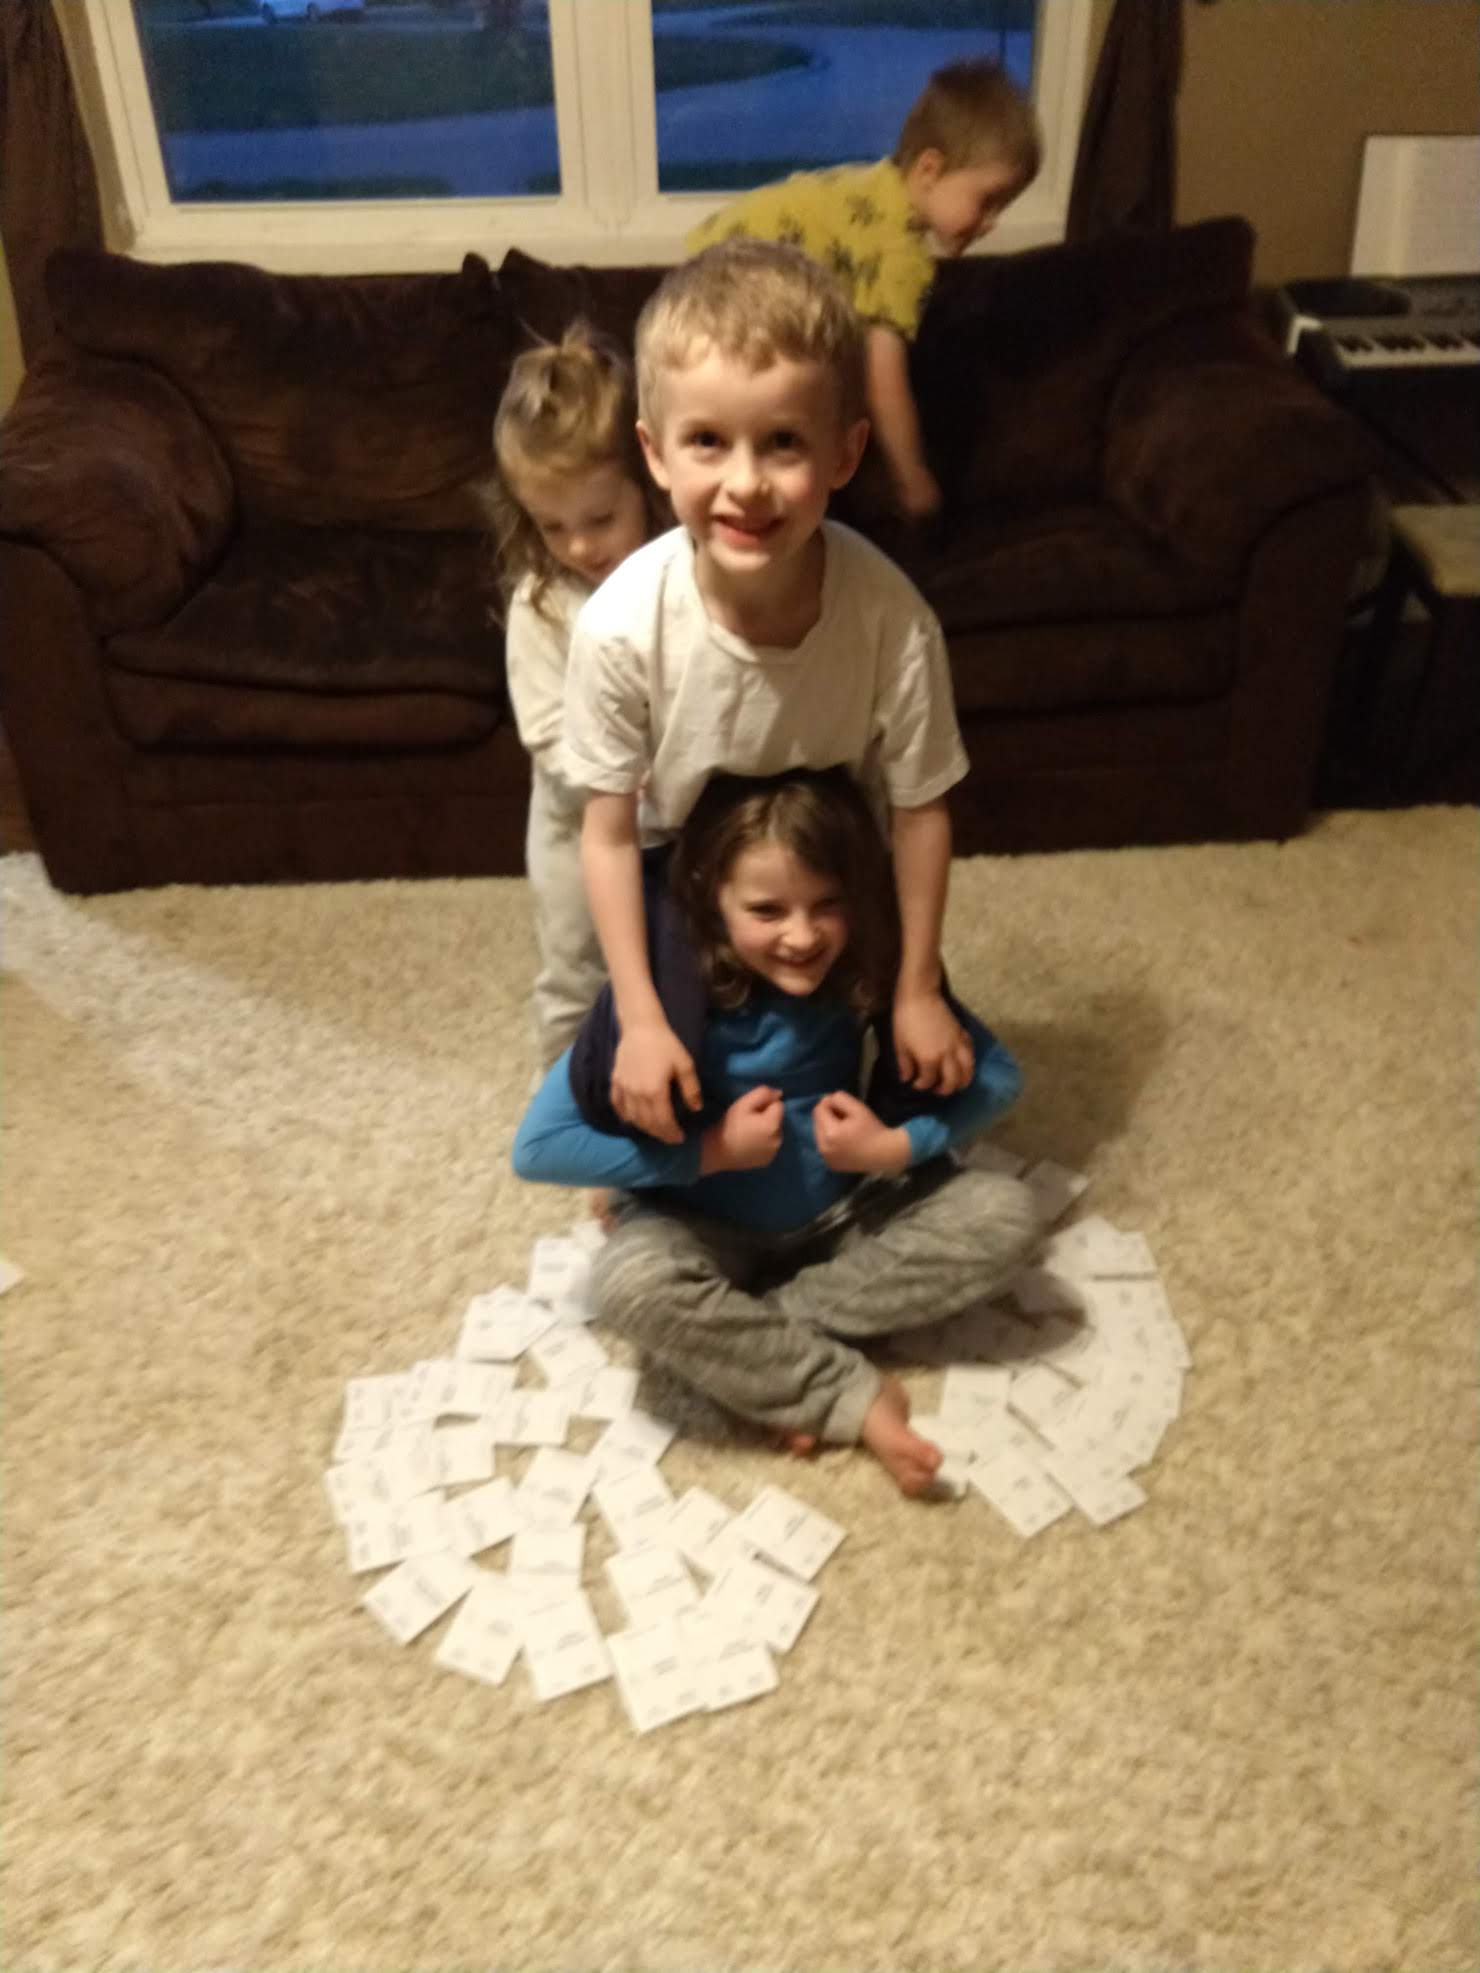
My children love Pokémon cards, which gave me an idea. What if I made a set of cards with pictures and details… but instead of Pokémon they had ancestors on them?! Then I could bring their picture out when I was talking about them, or we could build the family tree, or I could hide them around the room and the children can “gather Israel.”
I also am a teacher, and I think I can teach history and geography with them. It’s easy to care about the Crimean War if you know your ancestors lived in Crimea.
I want my children to be familiar with their ancestors so family histories can influence them, and they can have a head start on doing family history themselves. This project is part of my quest to figure out how to teach the gospel in a hands-on, Montessori way.
I pull them out whenever someone tells a story about an ancestor. It gives my children a sticky mental platform to attach the story to. It’s also so easy to send a child into a Sunday School class with a card when they’re asked to bring a family story to share.
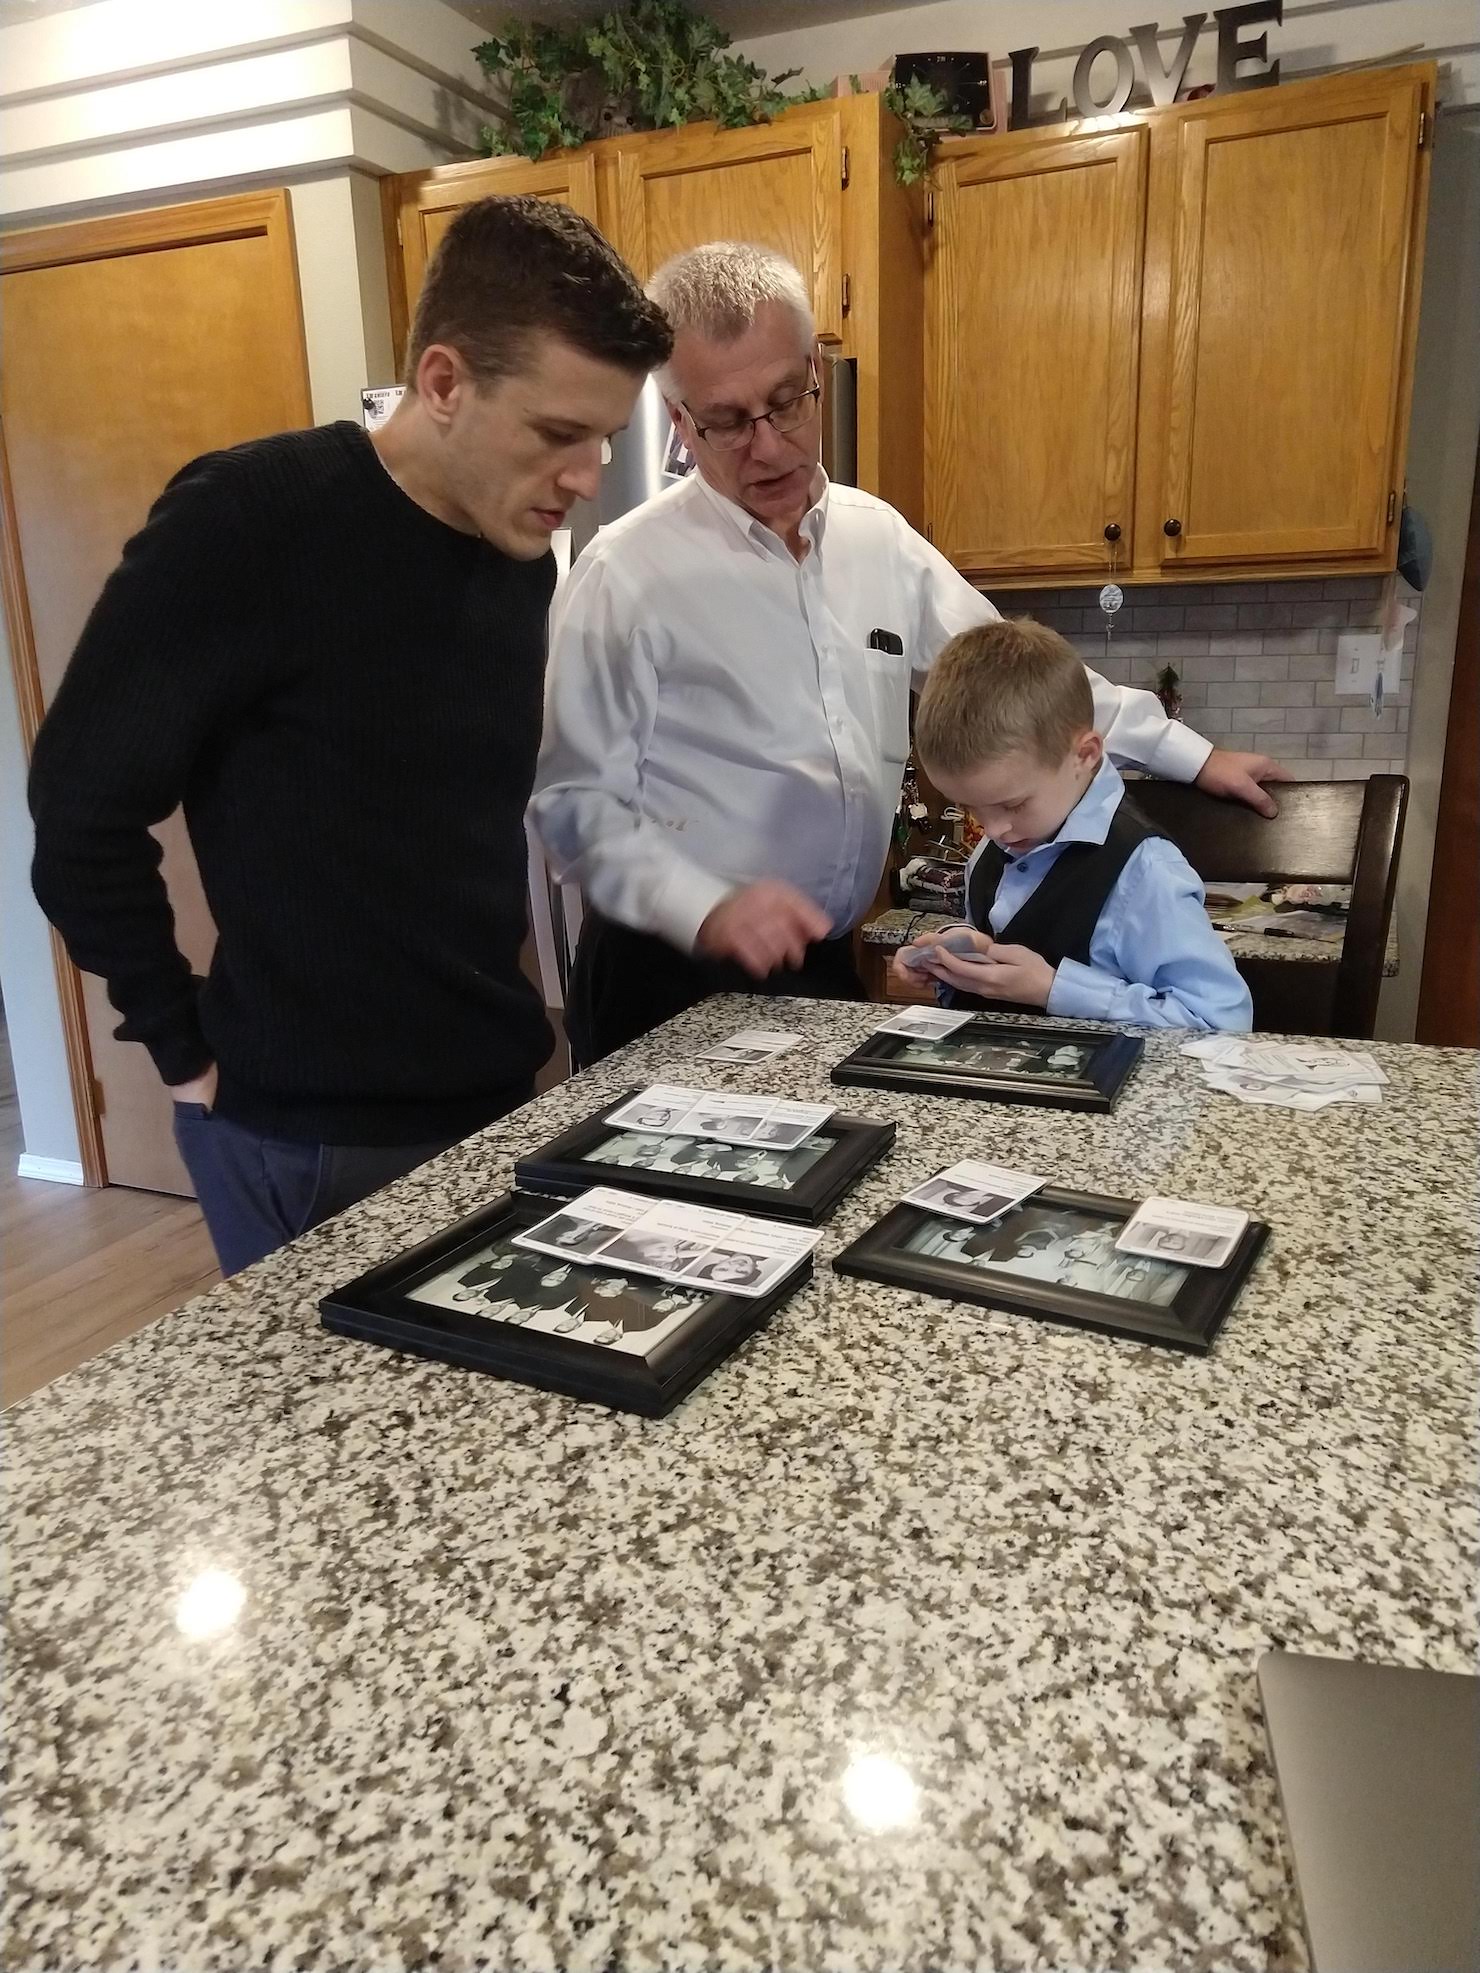
I use them in Primary. Young children like “finding their ancestors.” It is a hefty challenge for the group to assemble the family tree!

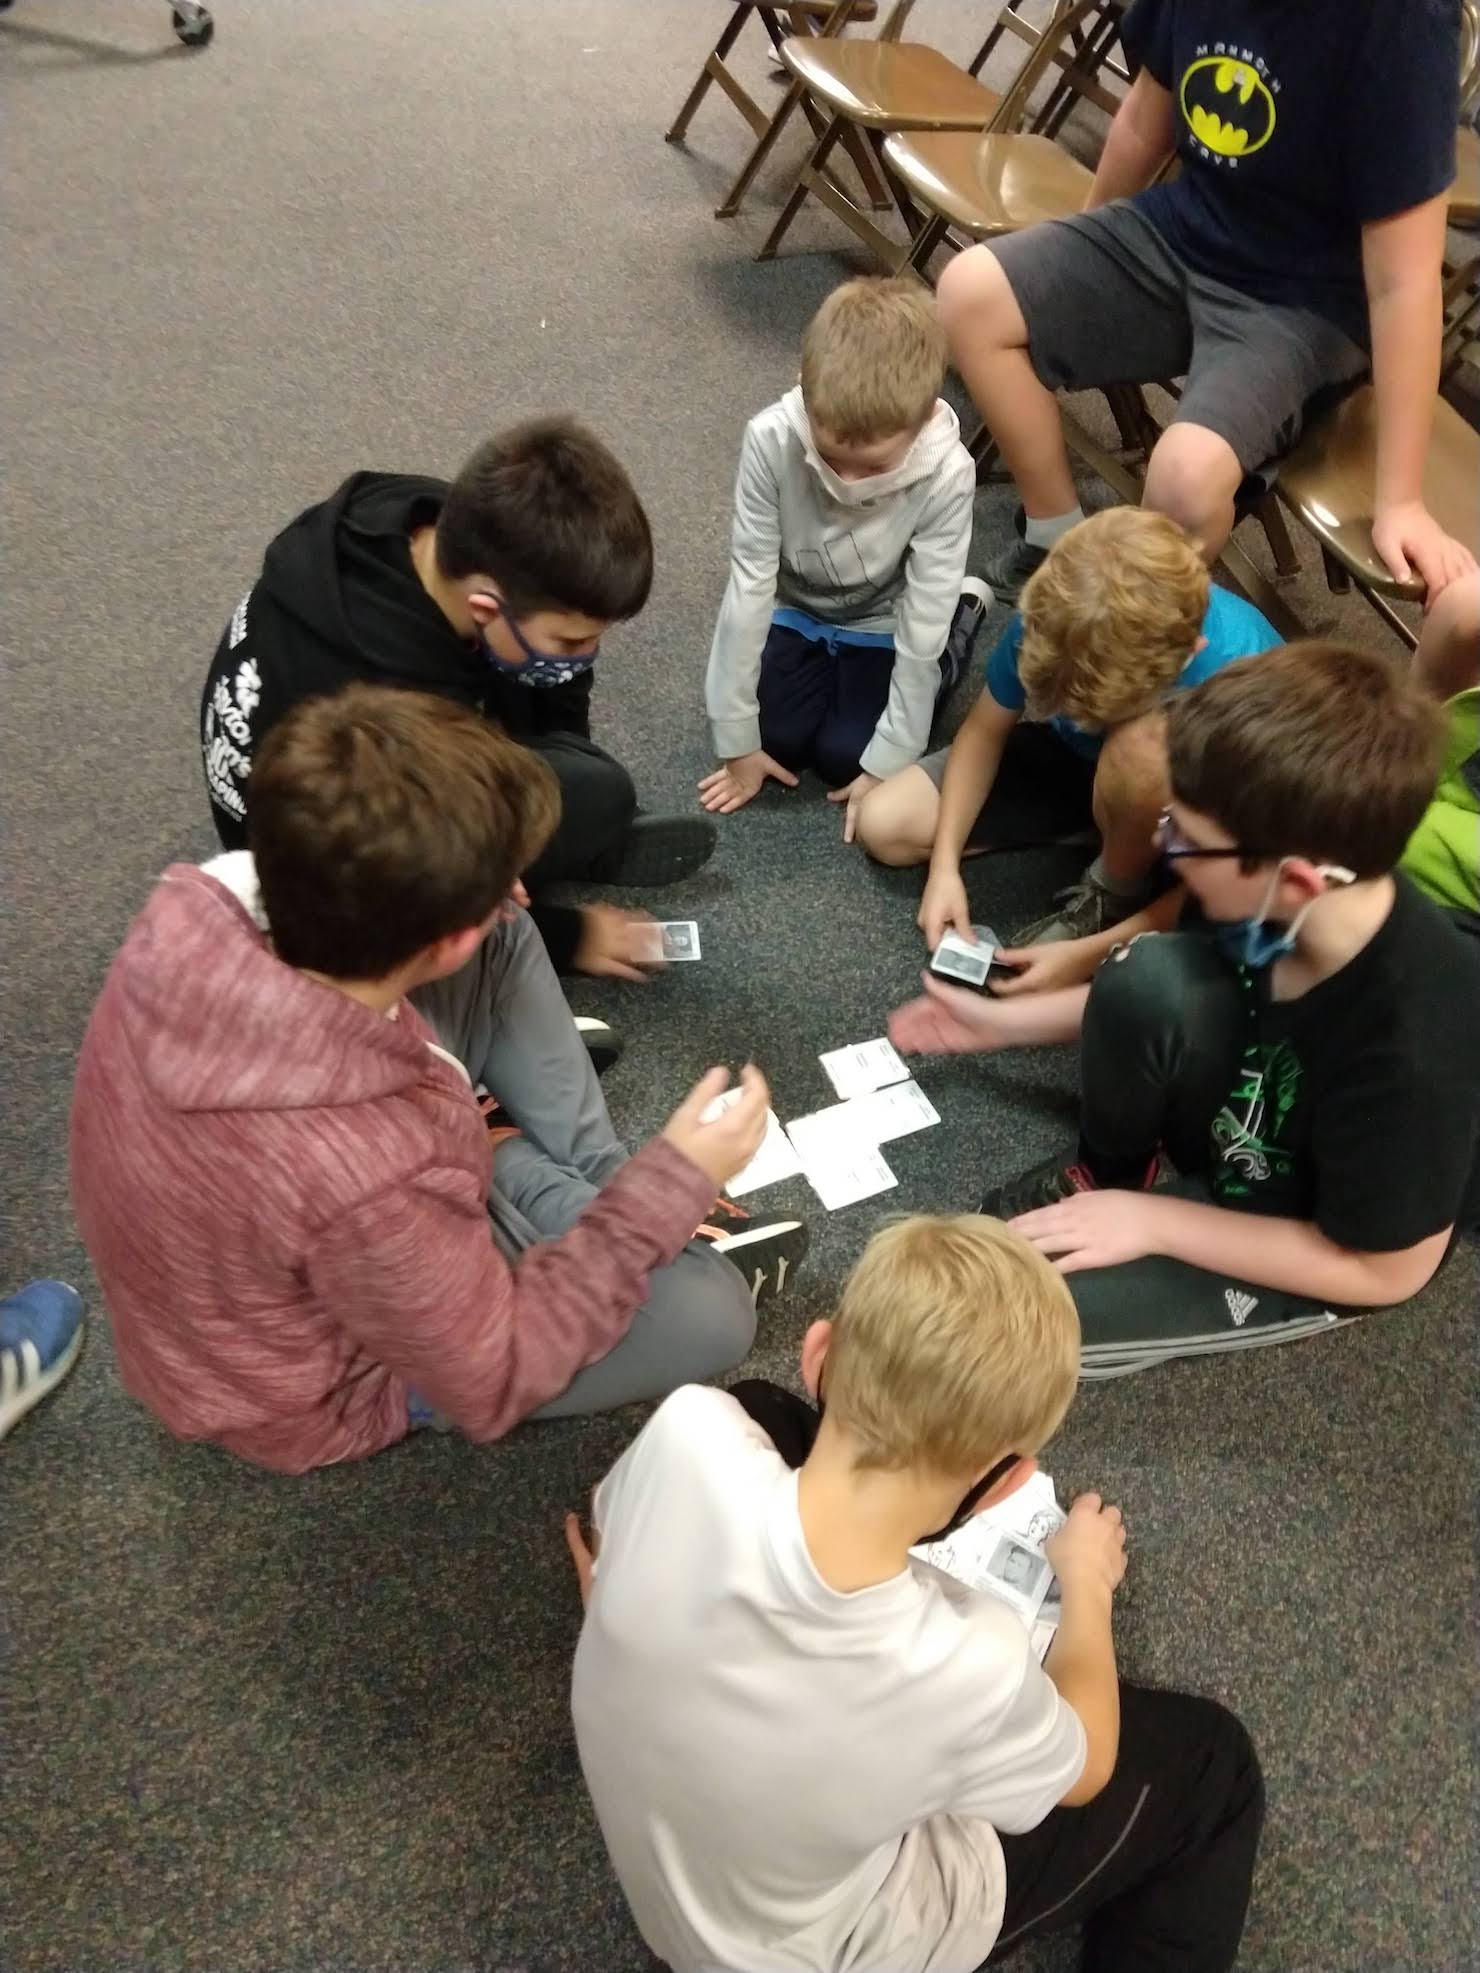
I made about 120 cards. They’re a boatload of work, but it’s fun work. I can show you what to do.
1. Get started with Figma
Figma is an intuitive graphic design tool that professional teams use. You can use it for free, as long as you only have three projects. Learning to use the website might help you with future employment or just-for-fun creations.
Navigate in your web browser to figma.com. Sign up with your email and a new password, or just with Google. Give a little bit of personal information; make up a team name; choose Starter, not Professional; don’t take the tour right now because I’ll tell you about the features you need.
2. Duplicate my template
Right click on this file to download it. Your right click will bring up a menu and if you choose “Save Link As…” you can put it somewhere you know where it is.
Go back to Figma, and look for this button in the top right corner of your files page. 
Press it, and open my file, called ancestor-cards-template.fig.
3. Duplicate my spreadsheet
I used a spreadsheet like this one to gather information like birth, death, and places lived. Go to that link and select the data (by clicking in one corner and dragging to the opposite corner.) Copy it, open a new Google Sheet or Excel Workbook, and paste.
4. Gather data
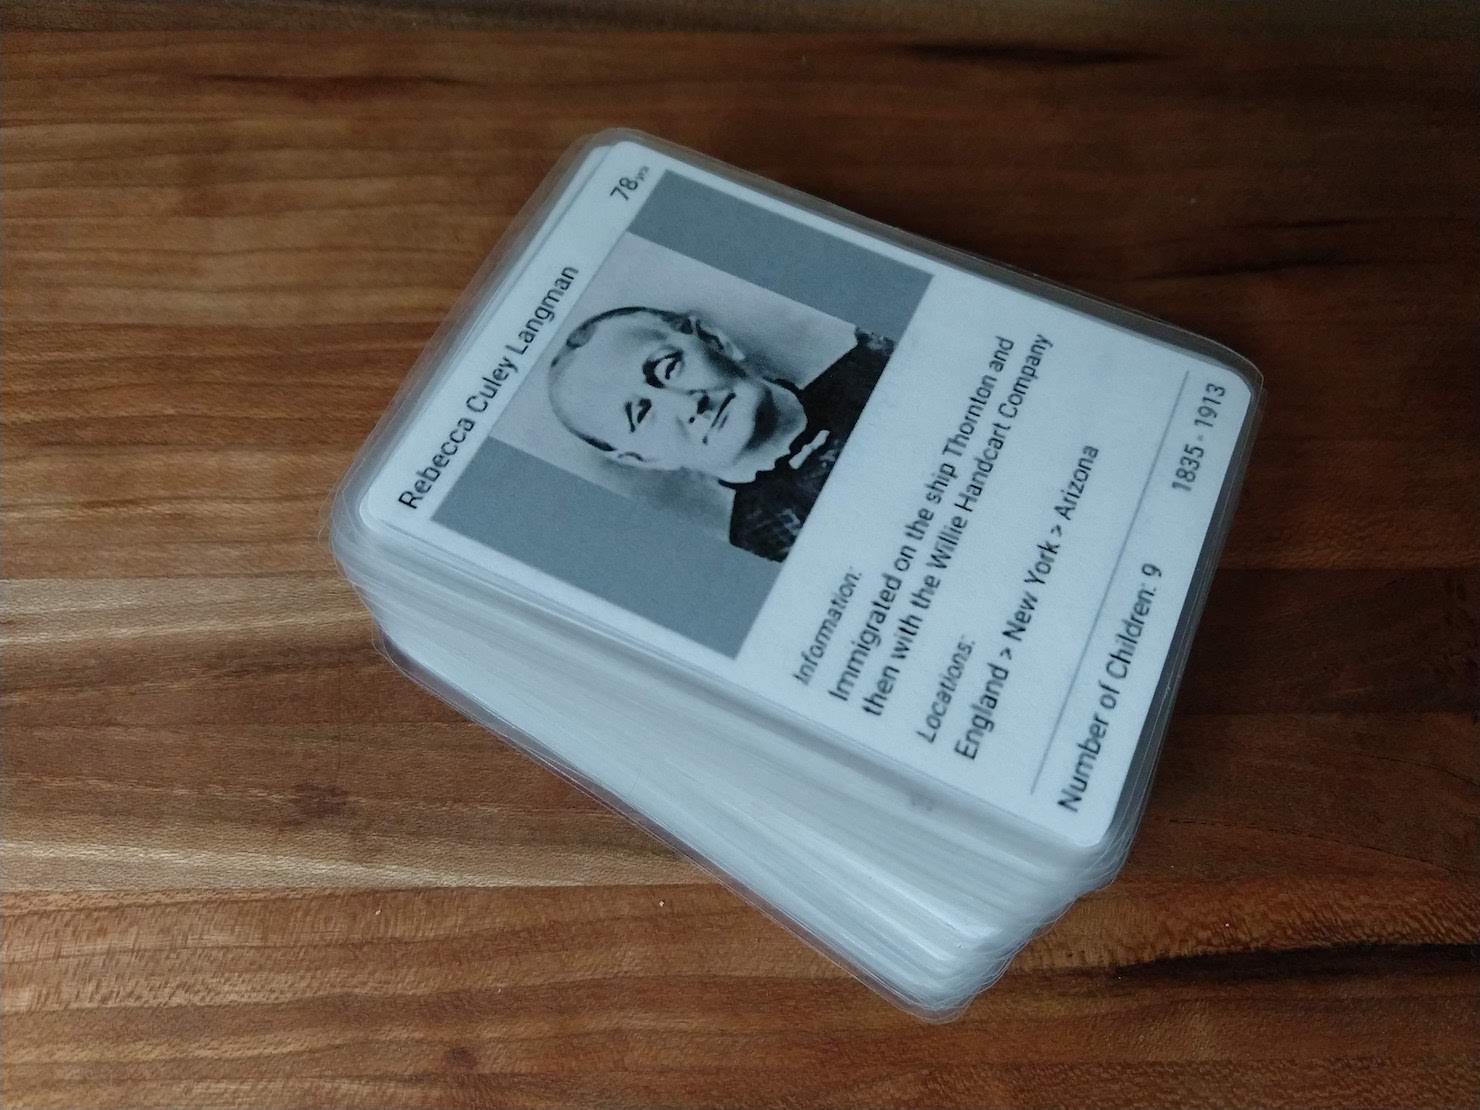
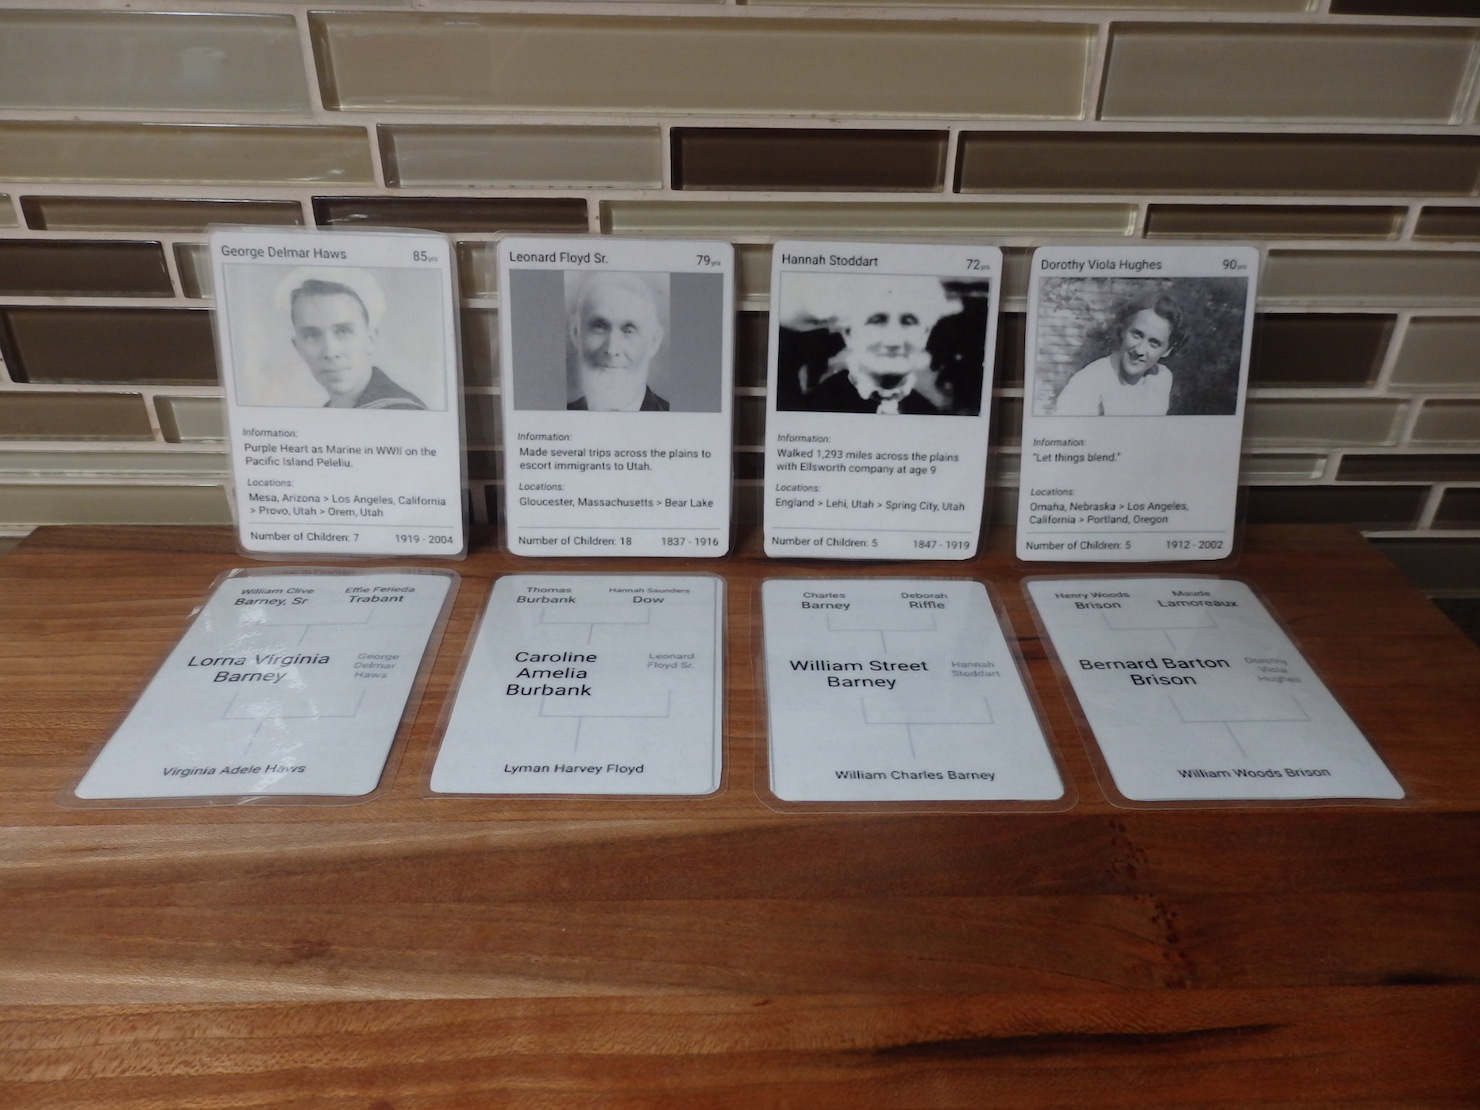
Then list your ancestors and fill in their personal data. I organized it by listing my grandparents first, left to right on the fan chart. When I had all four, I listed my great-grandparents, left to right. I made cards for my ancestors and my husband’s ancestors because I want my children to know them too. If I didn’t have information on an ancestor I did not make a card for them.
I have written a formula in the spreadsheet to calculate your ancestor’s age at death. I guess it will be one year off half the time, so if it’s important to you, change their stat. I think one year off is okay; dying at 94 or 95 is pretty similar in impressiveness.
I went through my ancestor’s sources, documents, and memories to gather as many places as I could. But I guess you could just use their birth and death place on the main screen to save time.
By far the most time consuming part is finding a cool fact. Occupations are good, stories are better. I have a lot of information on some recent ancestors, but that information dries up the farther back I go. Also, most of the women were always occupied with their children, and that information is summed up in a single number at the botton, “Number of Children.” For every one of them it could be said, “Loving mother” or “Devoted parent” so I didn’t write that for anyone. I Googled the year of their birth, death, or immigration and looked at what historically significant event happened that year. If there was nothing interesting, I searched the Wikipedia page of their hometown for any quirky facts. Digging deeper, I searched for their name on Wolfram Alpha to get name popularity data. Or I wrote down the translation of a word in their language.
5. Transfer data
This is the time when you will make a lot of mistakes. There are so many pieces of information to copy over, and it’s so hard to catch your own mistakes. When you finish, find a true friend to help you, and have them read the info off your cards while you check it with the information on FamilySearch.
Make a new “Page” for each ancestor by clicking the plus at the top right of the left sidebar. Rename “first ancestor” and “second ancestor” with the person’s name. Go back to the first ancestor page, and click and hold outside one of the corners and drag your cursor across both cards to the opposite corner. A blue box will show you what you are selecting. Let go, and every outline should be blue. Copy it, go to the next ancestor’s page, and paste it.
Each piece of information is a separate element. One click will select that element, two clicks will select one word for editing, and three clicks will select all the text in the element. If a name or cool fact is too long to fit in its spot, change the font size with the sidebar on the right.
Each element is listed on the left sidebar. You can select an element by clicking on its name in the list, if you like. Whatever element is at the top of the list will show in front of all other elements. Right click to bring forward, send to back, etc.
Rarely, the person’s age is greater than 99 years (I have two ancestors older than 99! One died at 100, and the other died just a few days before their 100th birthday. 361/365 = 99.99, so I put that because I thought my kids would get a kick out of it.) Select the year element, make a copy of it, and paste it to the left of the element I already have there.
When you’re all done, it might be useful to alphabetize the ancestors. I had a bit of trouble finding the exact person I wanted. I had to scroll through the whole list each time.
Edit: this paragraph is from the future. I got to the end of writing the article, and realized you needed this information now, instead of at the end. Proceed. I wanted rounded edges, so I cut off 480 corners, then laminated them, then cut off 480 more. If you are okay with poky cards, and don’t need them to be exactly like Pokémon cards, and if you want to reduce your cutting time by 80%, then do this. Select the Card Outline on the card front. On the sidebar to the right, you see a section with X, Y, W, and H. There is a rounded corner picture with a 10 next to it. Change it to 0. Do the same for the card back. Okay, now I will return to the future where I belong.
6. Add an image
Although this step is tricky, it’s important. The picture is the coolest part of Pokémon cards. If you don’t have a photo for a particular ancestor, I found illustrated images of a man and a woman in the public domain you can use. They are already in the figma template file. If the person is a man, drag the “grandpa” element above the “grandma” element in the list and his picture will come forward.
If you have a photo of the person, take a screenshot that is 182 pixels wide by 120 pixels tall. If your screenshot tool doesn’t tell you how many pixels you are selecting, you can adjust it in Figma. Save the image to your desktop, drag it into your Figma workspace, and let go. It’s pretty magical. We live in the future. Double click on the image in Figma to open the image editor. Even if a photo had color, I turned it black and white, so they would be uniform. You don’t have to make the same choice as me, but if you want to, turn the saturation down. If you have a really dark image, turn up the contrast and then the exposure. More magic!
If your magic goes awry, anything can be undone by clicking the hamburger menu at the top left, then selecting the edit menu, and then undo.
It’s really tricky when your favorite photo of an ancestor is portrait mode, because these cards are in landscape mode. I didn’t do this, but I could have tweaked the image file with pixlr.com and then reimported it.
7. Compile a print layout
Once you have input all the data you want to, it’s time to start on your long, ardous journey to bring these into the real world. You’re so close! It’s going to be so awesome!
Nine of these cards fit on one printed page. Make a new Figma “page.” I named mine first-name-first-name-first-name.png. If I did it again I would rename them 1a, 1b, 2a, 2b, etc., where “a” is the front and “b” is the back.
Copy just the card front of nine ancestors, and paste them in a 3x3 grid, all touching edges. This is actually important: on the layout pages you want to print, change the background to white. When no elements are selected, you will be able to change the background. I’m emphasizing this because I’m filled with guilt for not doing it. When I print the cards on the front and the back of the same paper, they do not line up exactly because of my printer’s print margins. Turning the background to white (and deleting the outline stroke on the card back, which I have done for you) will mask all but the worst printer margin errors. Maybe this is a small issue and doesn’t warrant bold text. But I’m me, and I think it does, so there you go.
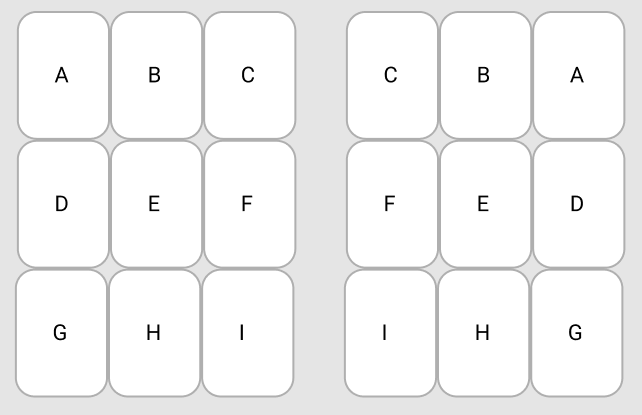
Then copy the card backs onto another Figma “page”, but in a different order. Let me step back. My laminator doesn’t handle two sheets laminated together. If you have a fancy superhero laminator that will keep two sheets together, then you can ignore this paragraph and the one before this one. But you’ve already read it so you can pretend you are ignoring it.
If you have a normal laminator, you’ll need to print the relationships diagram on the back of same page that has the images. And if it’s on the back, the cards need to be in a different order. Here is what worked for my printer.
8. Export
You need to export your .fig file out of Figma and onto your computer in image format. After than you can print it. Navigate to the page you want to print. Unselect everything. On the right sidebar, you’ll see a gray “export” section. Hit the plus button, then click the “export file name” button. Uncheck the blue box, and only select the first checkbox. Then click “export” again. Save it to your computer.
If you want to make any changes in the future, you can do it in Figma. Then export it again and save it as the same file name, rewriting your original.
9. Print and Laminate
Printing these cards is an incredible spacial reasoning workout. Print your file 1a, and then put the sheet back in the printer so that 1b will print on the back and the ancestors line up.
If your brain explodes and you can’t pick up the pieces, spend the next year of your life hand writing the relationship diagram on the back of each card.
I wanted rounded edges, so I cut out each card on the outline, clipped off 480 corners, then arranged the cards on a laminator sheet, ran it through my machine, and clipped off 480 more corners.